Submitted by Deepesh Agarwal on Tue, 04/15/2014 - 09:54
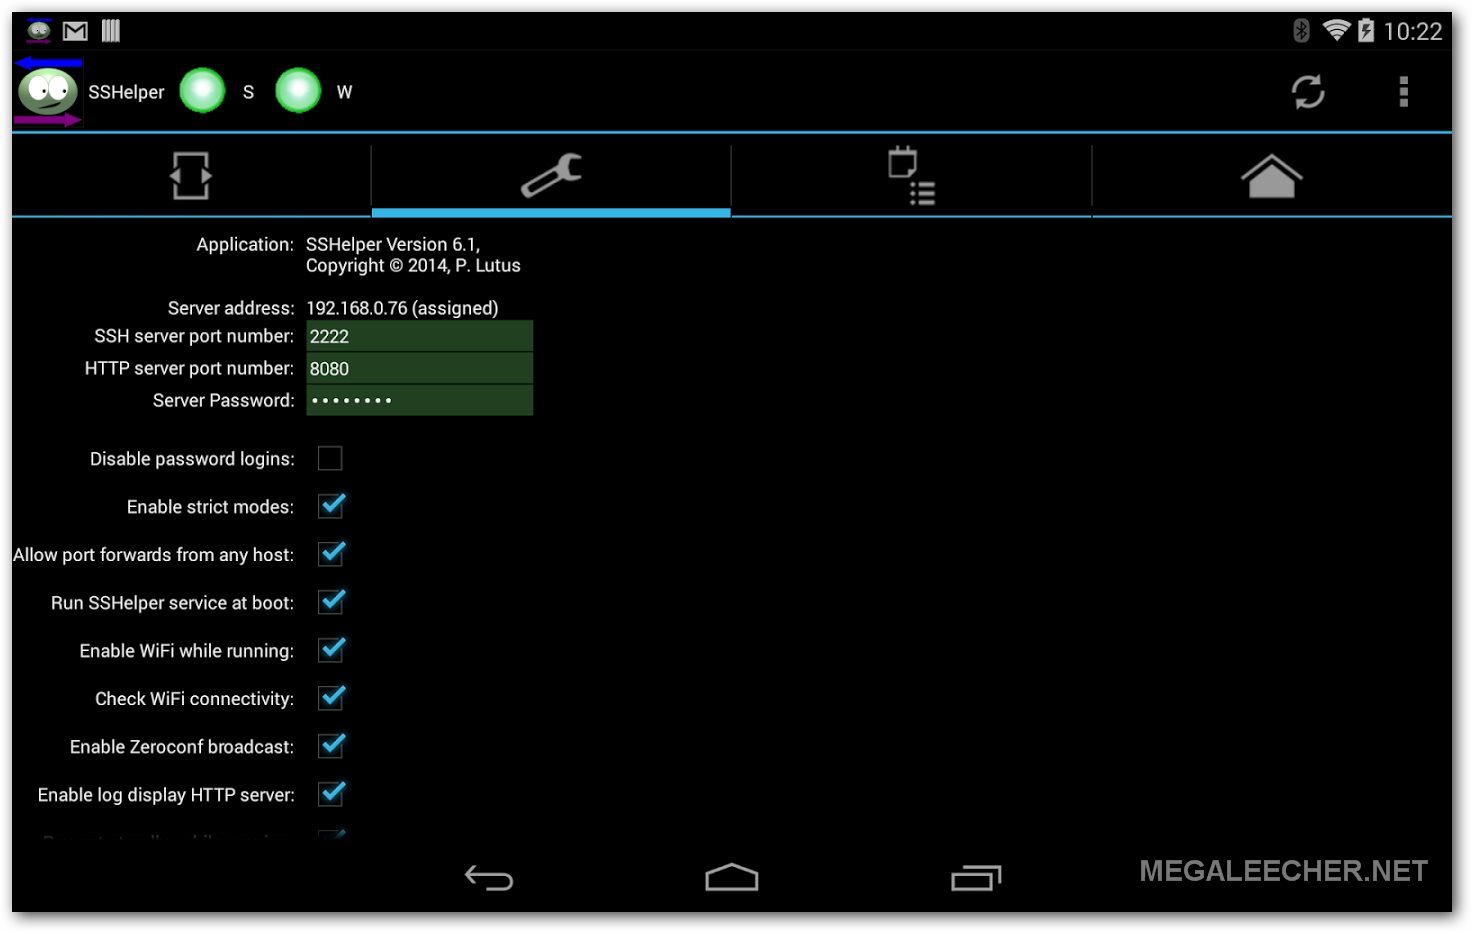
One of the first thing any advanced user should do after installing Android on their mini-pc is to install an SSH Server to enable remote-access from a computer for faster and easier tweaking, one can simply opt for an free SSH Server app from Google Play like SSHelper for a no frill, click-n-install SSH access to your Android box. However, if you prefer a GUI-less access with FULL-ROOT privileges from both WinSCP and Putty follow the tutorial shard ahead.
For this to work you must have a ROOTED Android setup :
- While there could be various methods to achieve this, we will be using "Android Ports" package manager option for easier setup. To get started we will first install "Android Ports", follow the official instructions to do this - http://dan.drown.org/android/ on your device. You will be need to install an Android Terminal App from Google Play store to type-in these commands. Once we have SSH Server install we can use any remote computer to perform terminal tasks, to make things easier I first installed SSHelper from Android market and used it to complete the below actions and later uninstalled it. Make sure you get root login at terminal using su command.
- Once set-upped use opkg install dropbear openssh command to fetch and install the SSH/sFTP server.
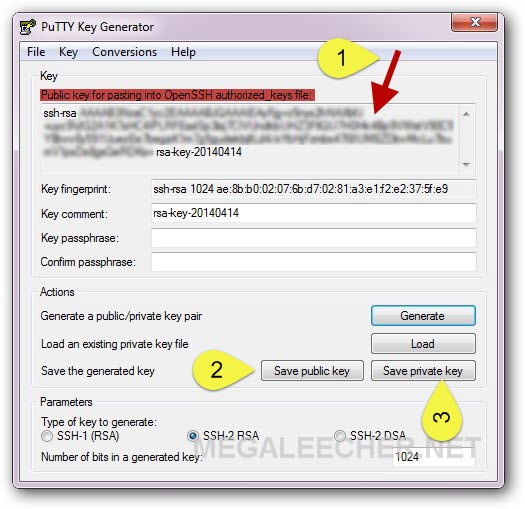
- The Dropbear SSH Server is built to only allow public-key authentication, we need to first generate a private/public key pair for allowing remote logins from. Use Puttygen to create a new SSH Public/Private keypair if you dont have one already.
- (1) Copy the full public key to clipboard for ready access in steps below and make sure you save the (2) public and (3) private keys to your computer for later access and authorization.
- Type-in the following commands to configure SSH server :
- Now copy-paste the entire public-key copied in Step 4 above after the > symbol of cat command followed by EOF and hitting Enter to save the file. Now, type-in the following commands to complete the process.
- You can now use your Android device IP and Port 22 to login as root into it using WinSCP and your private key saved earlier in Step 4 above.
busybox mkdir /data/root
busybox chmod 700 /data/root
cd /data/root
busybox mkdir .ssh
busybox chmod 700 .ssh
cat <
busybox chmod 600 .ssh/authorized_keys

/data/local/bin/dropbear
Add new comment