Submitted by Deepesh Agarwal on Tue, 01/27/2009 - 09:35
 Microsoft Windows 7 is still in preview stages but has already gained quite a substantial amount of users trying its first beta, if you are willing to try the new beta without taking any risk with your existing computer configuration, installing it on a virtual machine is the best option, the whole process is very safe and takes around 40 minutes to get completed on a decently powered P4 computer.
A virtual machine installation lets you try Windows 7 inside your existing OS as a guest operating-system, Both Microsoft Virtual PC 2007 and Sun VirtualBox can be used for this purpose, I will be using Sun VirtualBox for this demonstration.
- Download and install Sun VirtualBox if not already done.
- Download and obtain a license key for Microsoft Windows 7 Beta using instructions provided in the earlier post here.
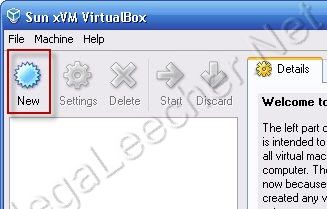
- Now launch VirtualBox and click the New button to start setting up our Windows 7 virtual machine.
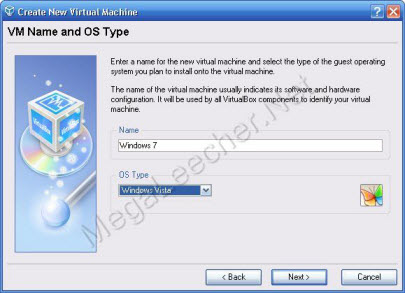
- Now enter name of your choice and select OS type as Windows Vista.
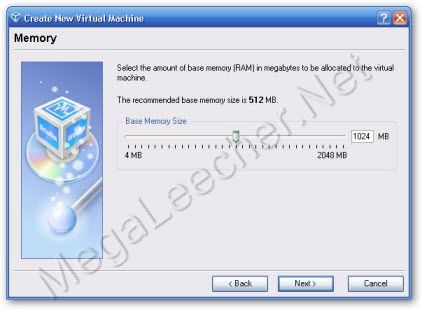
- Now choose the amount of RAM you want Windows 7 to use, a minimum of 1 GB is recommended.
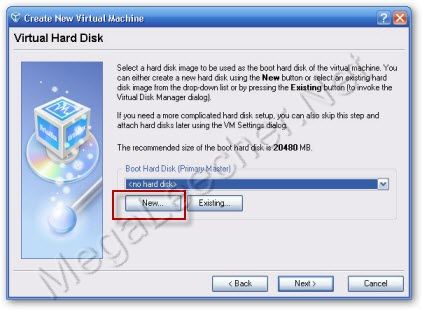
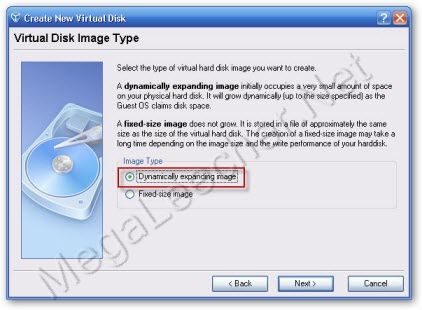
- Now you will be prompted to create a Virtual Hard-disk this will be used to install Windows 7 and appear as a hard-disk in Windows 7, set the size to be dynamic so it can expand when needed.
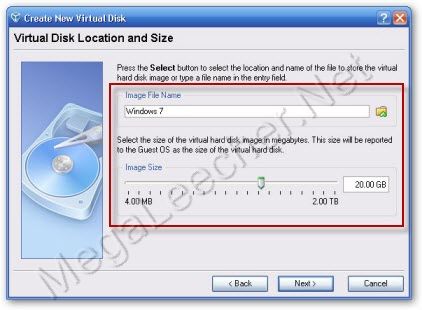
- Now define the minimum size and file-location.
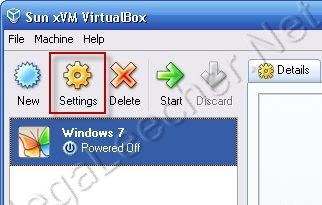
- Finish the Wizard to get back to main window, now select the newly created Virtual machine and click settings.
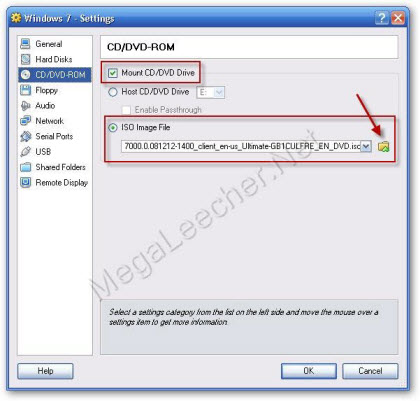
- Go to CD/DVD-ROM option and check “Mount CD/DVD Drive” and select the ISO Image File option, Click the small folder icon to add the Windows 7 ISO file.
- Virtual Media Manager window will appear, Click Add button and browse for the Windows 7 ISO downloaded earlier.
- Configure other options like Network and USB as per your requirement.
- Click OK to close the dialog box.
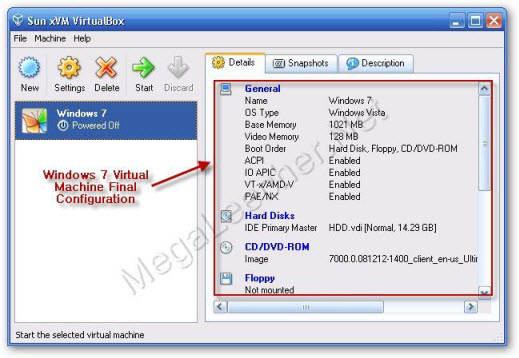
- Here are my Final settings for Windows 7 VM.
- Your Windows 7 Virtual machine is now ready, select it and click the Start button.
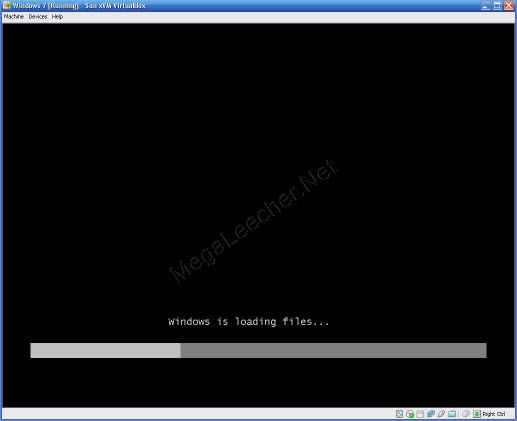
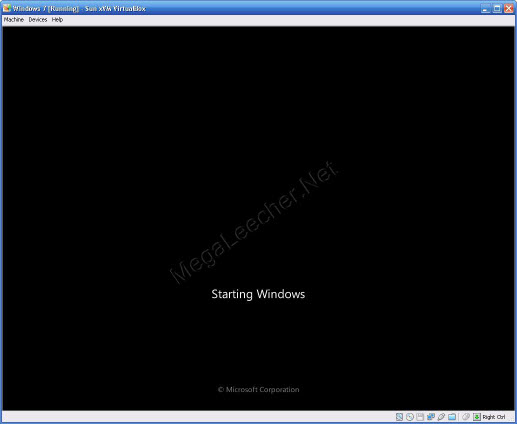
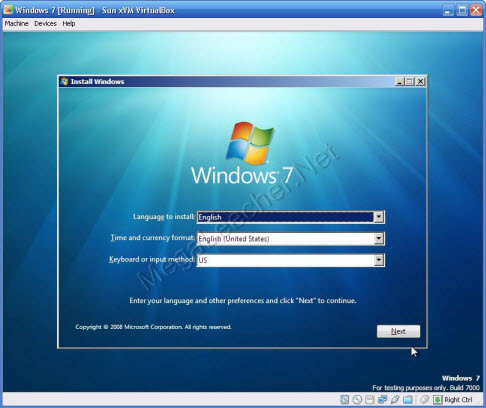
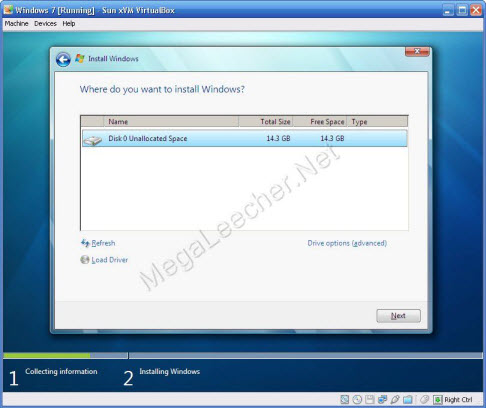
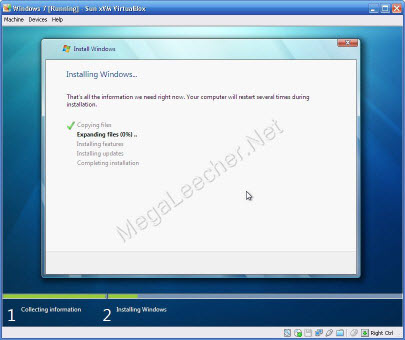
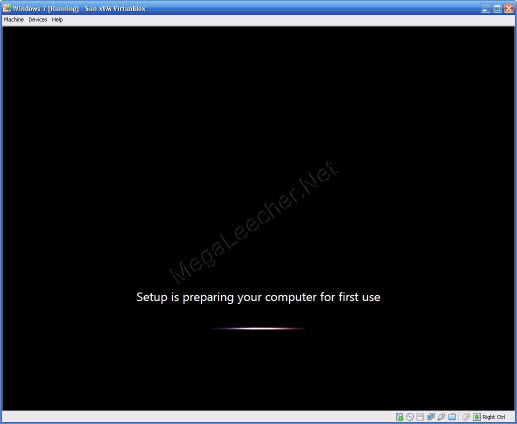
- Your Virtual machine should now start booting from the virtual CD/DVD ROM using the Windows 7 ISO to launch the setup process.
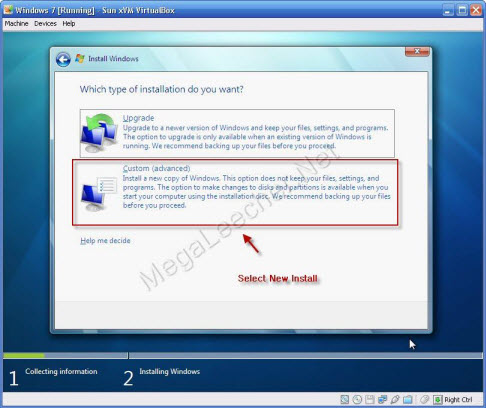
- Now select the Custom (advanced) installation method.
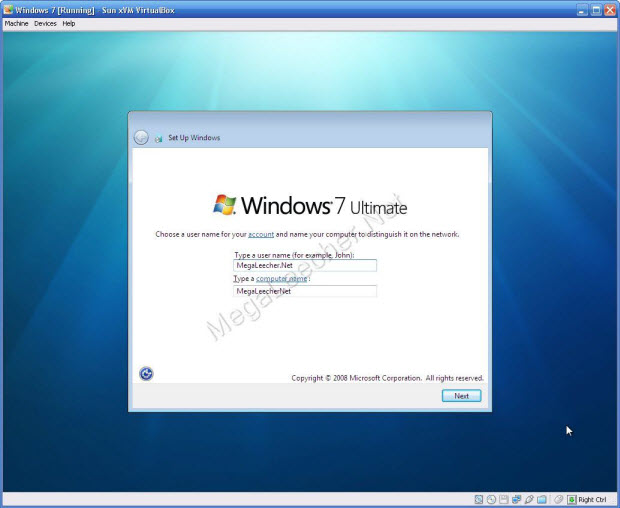
- Setup the new user Account.
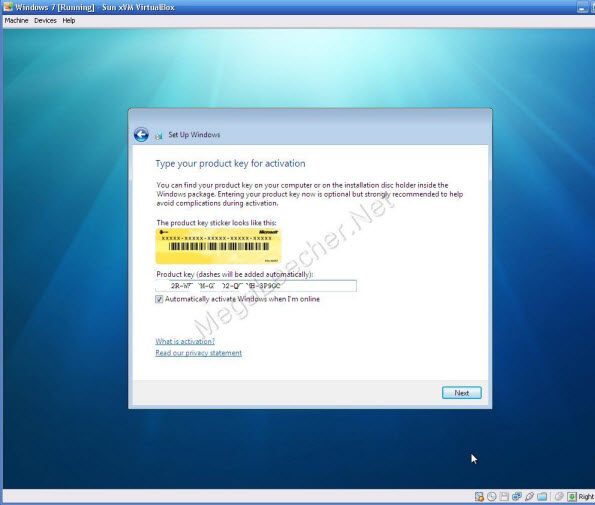
- Now use the Windows 7 serial key obtained earlier to activate your copy.
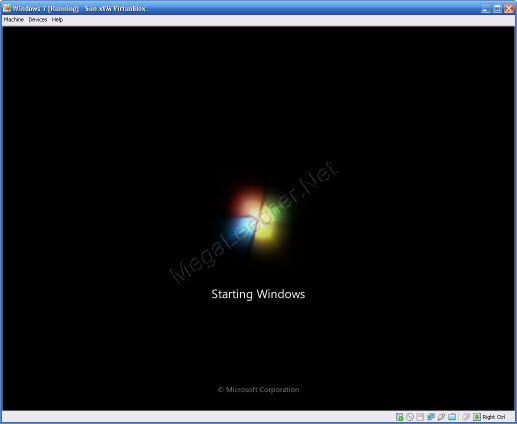
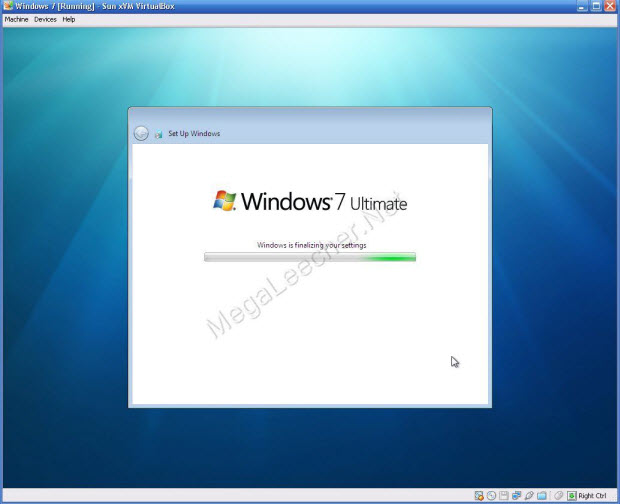
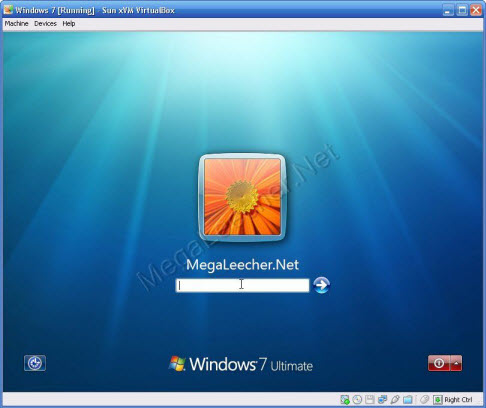
- Once activated, Windows 7 will finalize settings and present the logon window.
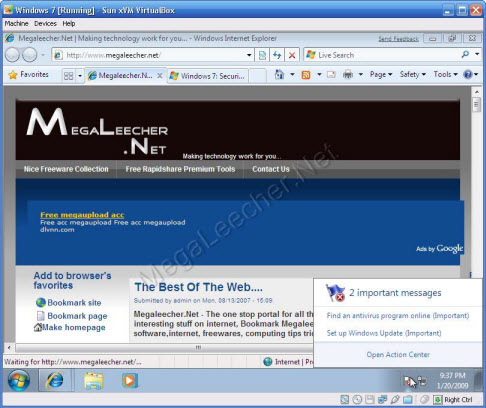
- Your Windows 7 setup is now completed and you can now use it like a normal operating system.
- Windows 7 will notify and ask to install an anti-virus product, read our earlier post for a list of compatible anti-virus software for Windows 7.
Comments
VirtualBox AMD 64 version
I am using Vista-64 bit, so I downloaded VirtualBox 2.1.2-41885-win-amd64.msi.
Will the virtual installation work with this version?
Absolutely
Yes, it should work fine on 64 Bit.
64-bit
Thanks, I should have downloaded win 7 64 bit but the thing is 6GB!
how to uninstall
how to uninstall
Uninstall Windows 7 Virtual Install
Just delete the virtual install from VirtualBox.
Ha
I've been using Windows 7 as a primary OS for a while now. Screw Virtual Machines, install it, it's more stable than Vista I say.
i am using windows 7
i am using windows 7 ultimate RC 1 32 bit OS using virtual box 2.2 in a dell vostro 1510.how to get drivers for windows 7 as none of the drivers supplied works on this OS
dell.com
go to site and input your model and serial and get your drivers
plz help me....give me
plz help me....give me activation key for windows 7 ultimate plzzzzz......
my email lexzana@yahoo.com
Add new comment