Submitted by Deepesh Agarwal on Wed, 10/10/2012 - 04:51
After completing internet connectivity setup on Raspberry Pi, it's time to setup a fixed/static IP so we can access it easily over a network via SSH and VNC.
To get this done we will be using another popular, simple to use, graphical WiFi Network management Utility for Linux - WICD Network Manager. Just follow the steps below to install and configure an static IP on your Pi.
Installing and configuring WICD Network Manager on raspberry pi for using a fixed IP address :
- Install WICD Network Manager using sudo apt-get install wicd at the terminal.
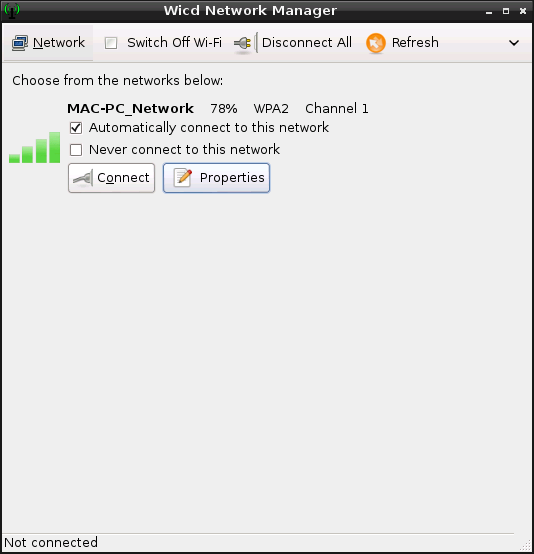
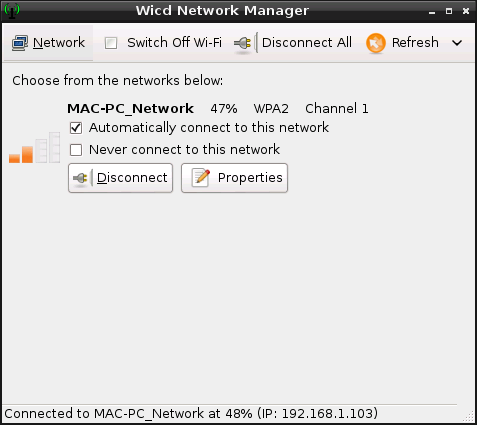
- Once installed, launch the utility from Start->Internet->WICD.
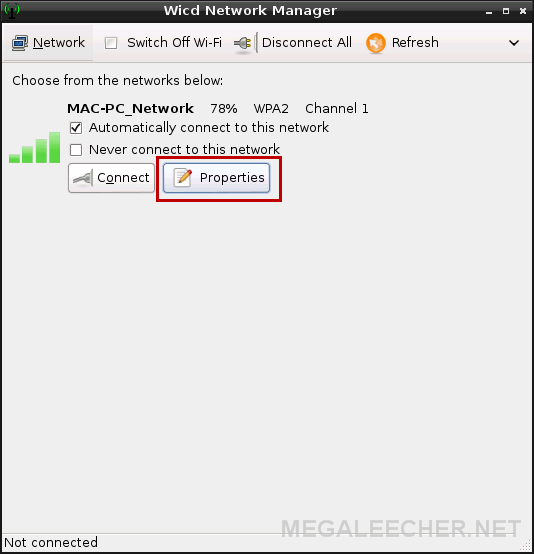
- Click "Refresh" option to scan available networks and click "Properties" of your network to configure.
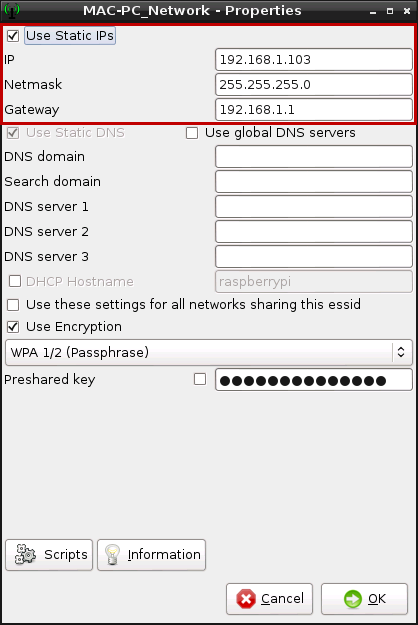
- Check "Use Static IPs" option and fill-in the desired settings.
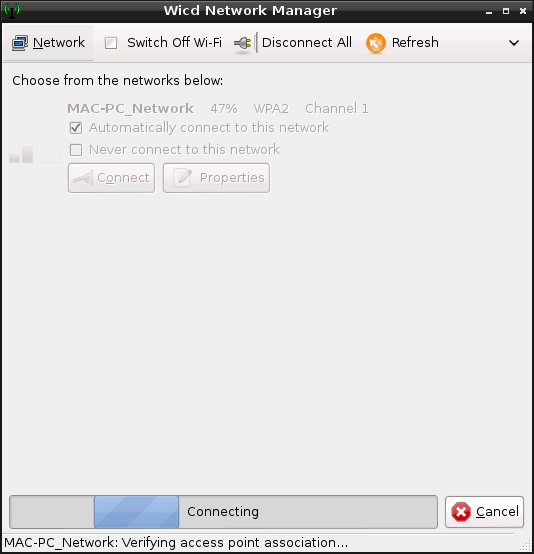
- Click "OK" to save the settings and then connect from main window.
- You should now connect to the network having an static IP address. This IP address will remain same even after rebooting the Raspberry Pi.
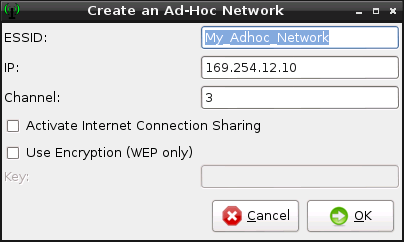
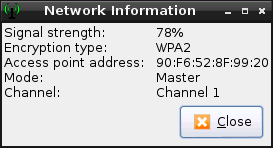
- The WICD Network Manager utility also offers various other handy information and configuration options like - Pre and post connection and disconnection scripts, creation of an ad-hoc WiFi connection and detailed connection status.

Add new comment