Submitted by Deepesh Agarwal on Wed, 11/07/2012 - 03:39
 Majority of the users must be using their little Raspberry Pi computer headless (without any keyboard, mouse or display attached), and while SSH is a great option for Linux users feeling comfortable with command line other users need an graphical user interface. Here is an quick tutorial to remotely access your Raspberry Pi's desktop remotely over an network.
Installing VNC server on Raspberry Pi:
- There are many VNC server options available but I prefer X11VNC as it provides access to the same LXDE desktop session as live on RPi, unlike tightvncserver which creates a new virtual desktop session for each connection.
- To install X11VNC server SSH into your RasPi and use - sudo apt-get install x11vnc.
- Now use x11vnc -storepasswd and set your VNC access password.
- Now, we need to make X11VNC server start with LXDE, to do that use following commands at terminal.
cd .config
mkdir autostart
cd autostart
nano x11vnc.desktop - Now paste following :
[Desktop Entry]
Encoding=UTF-8
Type=Application
Name=X11VNC
Exec=x11vnc -forever -usepw -display :0 -ultrafilexfer
StartupNotify=false
Terminal=false
Hidden=false - Save the above file by using - Ctrl-X, Y,
in nano. - This will auto start our VNC server every time LXDE starts, make sure you have "Boot to desktop" option configured using "sudo raspi-config" to get this working flawlessly after reboot.
- By default X11VNC uses lower resolution, uncomment hdmi_force_hotplug=1 in /boot/config.txt followed by an reboot to fix that.
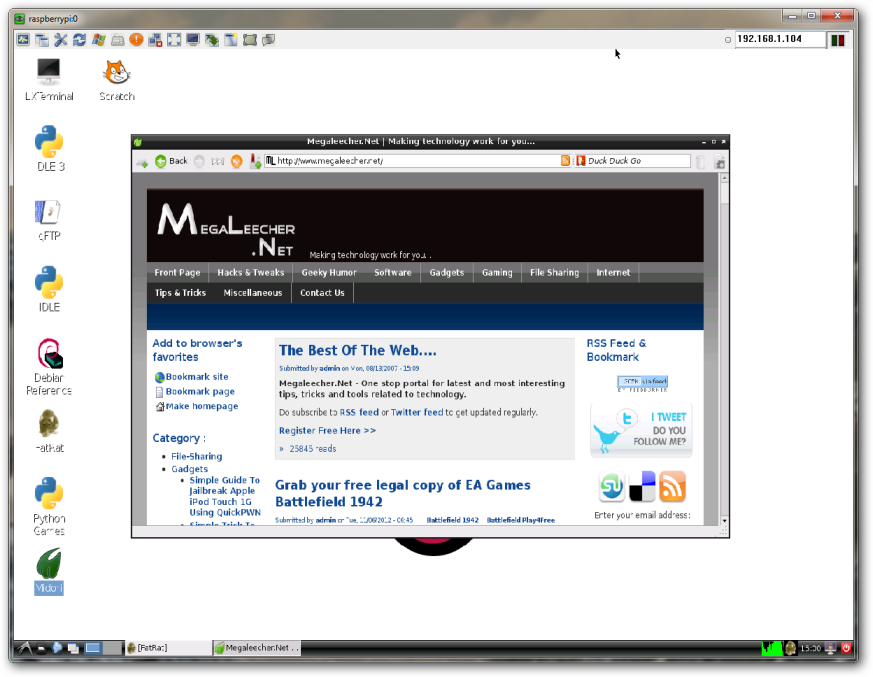
Now, we have configured our VNC server. To access this server remotely we need an VNC client, on Windows UltraVNC is my client of choice. Simply, enter your RasPi IP address and connect.

Comments
Thanks
Thank you very much this worked perfectly.
Thanks this worked out great,
Thanks this worked out great, only thing is the window is small. Is there a way to get it larger other than full screen? It does not seem to allow me to resize the window using Chicken of the Sea VNC viewer on a Mac.
Try testing different
Try testing different resolution settings to get desired size.
I am a complete noob on linux
I am a complete noob on linux where would I tell it to use a different resolution. I saw some command lines that had
-geometry in them but have not gotten it working yet.
Okay I got it, I saw what you
Okay I got it, I saw what you had in Step 8 and that resolved the issue.
Hello, I have a
Hello, I have a problem.
every time I use "x11vnc -storepasswd", my PI says "Illegal Instruction".
I have a PI model B.
Can anyone help me please? :)
Hello, I have a Problem,
Hello,
I have a Problem, every time I type "x11vnc -storepasswd", my PI say "illegal instruction" to me...
can anyone please help me?
thanks
Great stuff
Thanks for this tutorial, finally got my little Pi Server working the way I want it to!
For those with the illegal instruction problem, a "sudo apt-get update" seemed to sort it out for me (or upgrade instead of update, I forget which, sorry)
For those using Berryboot...
For those using Berryboot, at step 8, it may be useful to know that the config.txt file will not be located in /boot. Instead it can be found where the Berryboot SD card is mounted. The volume name of my SD card containing Berryboot is "BERRYBT 200", and in my case it's mounted at /media/BERRYBT 200 (yes, the directory name contains a space!), so the config.txt file can be found here:
/media/BERRYBT 200/config.txt
Type "mount" to show where your SD card containing Berryboot is mounted. It shows the following in my case (mmcblk0p1 is the first partition on my SD card):
pi@raspberrypi-locke /media/BERRYBT 200 $ mount
proc on /proc type proc (rw,nosuid,nodev,noexec,relatime)
sysfs on /sys type sysfs (rw,nosuid,nodev,noexec,relatime)
dev on /dev type devtmpfs (rw,relatime,size=179092k,nr_inodes=44773,mode=755)
none on / type aufs (rw,relatime,si=88e213ee)
tmpfs on /run type tmpfs (rw,nosuid,noexec,relatime,size=47716k,mode=755)
tmpfs on /run/lock type tmpfs (rw,nosuid,nodev,noexec,relatime,size=5120k)
tmpfs on /run/shm type tmpfs (rw,nosuid,nodev,noexec,relatime,size=95420k)
devpts on /dev/pts type devpts (rw,nosuid,noexec,relatime,gid=5,mode=620)
/dev/mmcblk0p1 on /media/BERRYBT 200 type vfat (rw,nosuid,nodev,relatime,uid=1000,gid=1000,fmask=0022,dmask=0077,codepage=cp437,iocharset=ascii,shortname=mixed,showexec,utf8,flush,errors=remount-ro,uhelper=udisks)
In my case, there wasn't anything to uncomment for hdmi_force_hotplug, but just adding the following line to config.txt got me the hi-res display via VNC:
hdmi_force_hotplug=1
For background, see http://elinux.org/RPiconfig
THANKS!!
I worked for 2 days searching the web, trying all kinds of things from installing tight vnc server and configuring in all sorts of way to installing x11vnc, but starting it incorrectly. This did exactly what I needed. REMOTE INTO THE CONSOLE SESSION of the PI!!! Thank you much for posting. Excellent documentation.
Thx for the help. but i have
Thx for the help. but i have a little problem here, the auto start don`t work, i upgrade the system, remake all the steps but every time i start the rasp i have to click in the VNC shortcut i created and select the port, the type of connection and set the password... can anybody help?
Autostart not working
I have followed the tutorial and I can run vnc manually and it works, but it is not auto starting.
Any help would be appreciated.
I have added the file to the autostart folder
Add new comment